Introduction:
Nothing is more satisfying than coming up with, for instance, the Dell CT109 serial to PS2 cable to be used by tech enthusiasts or computer professionals. Therefore, users can connect their previous devices, employing PS2 interfacing, to the new circuit systems, which mainly employ serial interfacing. This article will guide you step-by-step on how to make Dell CT109 serial to PS2 cable, offering essential insights into the tools, materials, and procedures required.
Unfortunately, only a handful of people understand the fundamental facts about the Dell CT109 Serial to PS2 Cable.
The Dell CT109 serial to PS2 cable is a special adapter cable that connects the serial ports between serial port devices and those that use the PS2 connectors for keyboard/mouse. All these aspects – compatibility, adoption of wiring, and necessity- must work in harmony to function. Making Dell CT109 serial to PS2 cable requires a solid understanding of pinout diagrams and soldering techniques for a secure and functional connection.
Required Tools and Materials
To begin crafting the Dell CT109 serial to PS2 cable, you will need:
The Dell CT109 cable or any other cable has a similar wiring capacity.
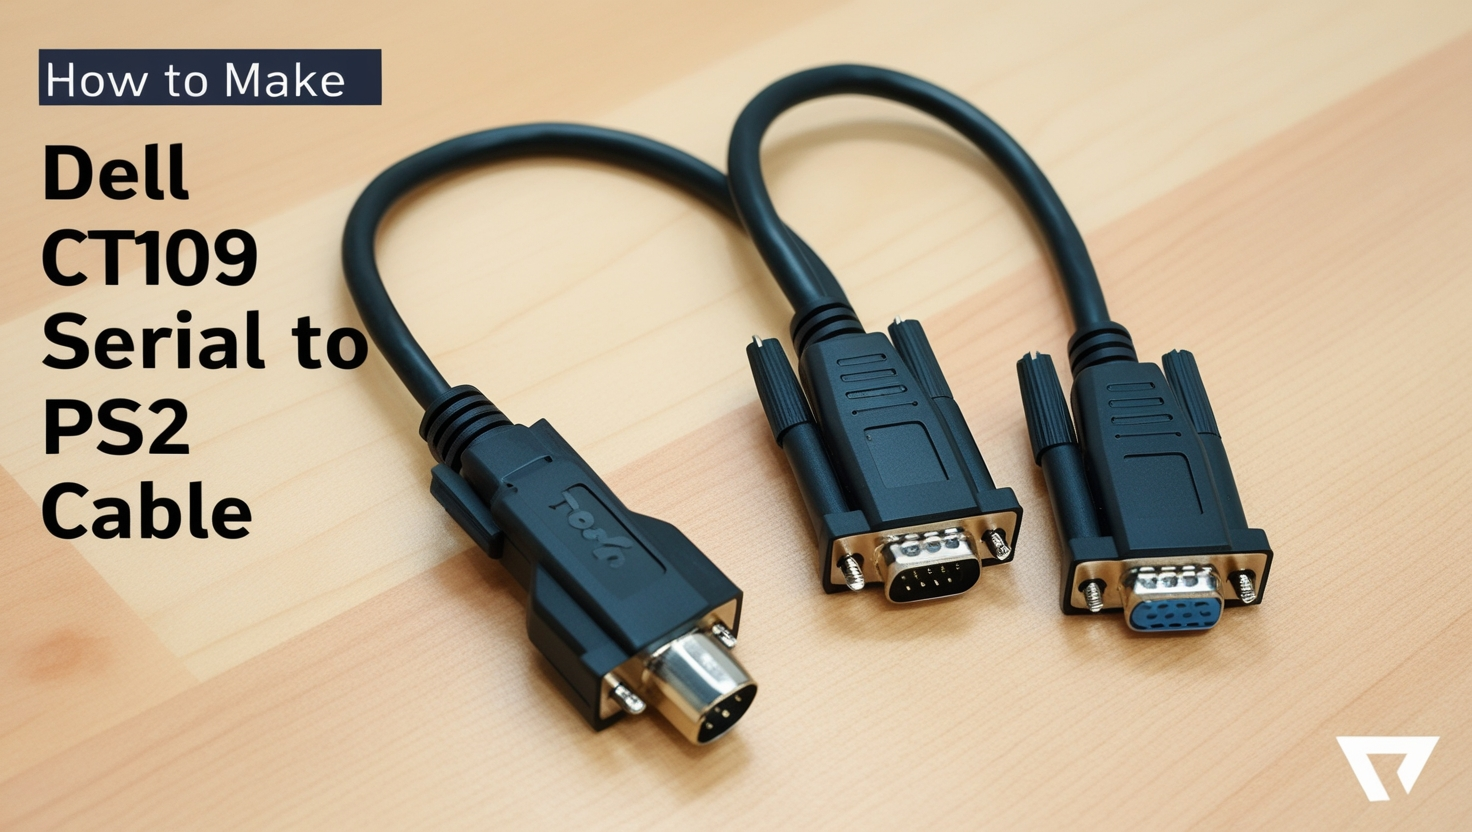
A blue nine-pin cable connector for the PS2 was originally male but can now be female.
A serial connector is typically a DB9 or DB25.
This involves a soldering iron and the soldering equipment, of course.
For insulation, use heat shrink tubing or electrical tape.
Curiously, wire cutters and strippers were applied to prepare the cable.
Continuity and connections meter, also called a multimeter, is used to test the continuity of a circuit.
Having all these tools ensures that the process of making a Dell CT109 serial to PS2 cable is smooth and efficient, minimizing the risk of errors or damages.
However, in every device’s network, we can find the pinout diagram showing the connection points and the network mapping in the device.
The following two figures show the pin out of both connectors needed when building Dell CT109 serial to PS2 cable: Therefo.e, this n, ext two diagrams are essential when creating this cable. PS2 connectors usually have six pins:
Data
Ground
Power (+5V)
Clock
Reserved (optional)
Reserved (optional)
Serial connectors, such as DB9, have their unique pinouts as well:
Data Carrier Detect
Received Data
Transmitted Data
Data Terminal Ready
Signal Ground
Data Set Ready
Request to Send
Clear to Send
Ring Indicator
Mapping these pins correctly is the key step in making a Dell CT109 serial to PS2 cable. In some instances, you will have to read the manuals of the devices you are using or the pinout specification to arrive at the right connection.
Step-by-Step Guide
Prepare the Connectors: First, disconnect the sheath at both ends of the Dell CT109 cable. Slide the outer layer of the insulation back down to the copper layer without destroying the insulation layer. The same has to be done to the PS2 and serial connectors, as well as adding the necessary code to complete a transfer.
Identify the Pins: If you are unsure which connectors have those pins shown in the section above, compare them with an actual multimeter or the reference diagram provided in the article above. That is done to ensure you are well-positioned to do it when you map the PS2 pins to the correct serial ones.
Solder the Connections: Then, connect the corresponding number of wires How to Make Dell CT109 Serial to PS2 Cable to the pin present on the PS2 and serial connectors using solder. The electrical connections of each joint and the soldering joint should be strong enough not to be disconnected or to produce a short circuit.
Insulate the Connections: To protect each solder joint, use heat shrink tubing or electrical tape. This ensures that there is no transfer of electrical signal interference, hence the long life of your Dell CT109 serial to PS2 cable.
Test the Cable: Finally, to confirm, a multimeter should be required to ensure that the loops are continuous in nature. This also reaffirms that there should be no grounds for an open circuit regarding the signals transmitted in this step.
Dell CT109 Serial to PS2 Cable
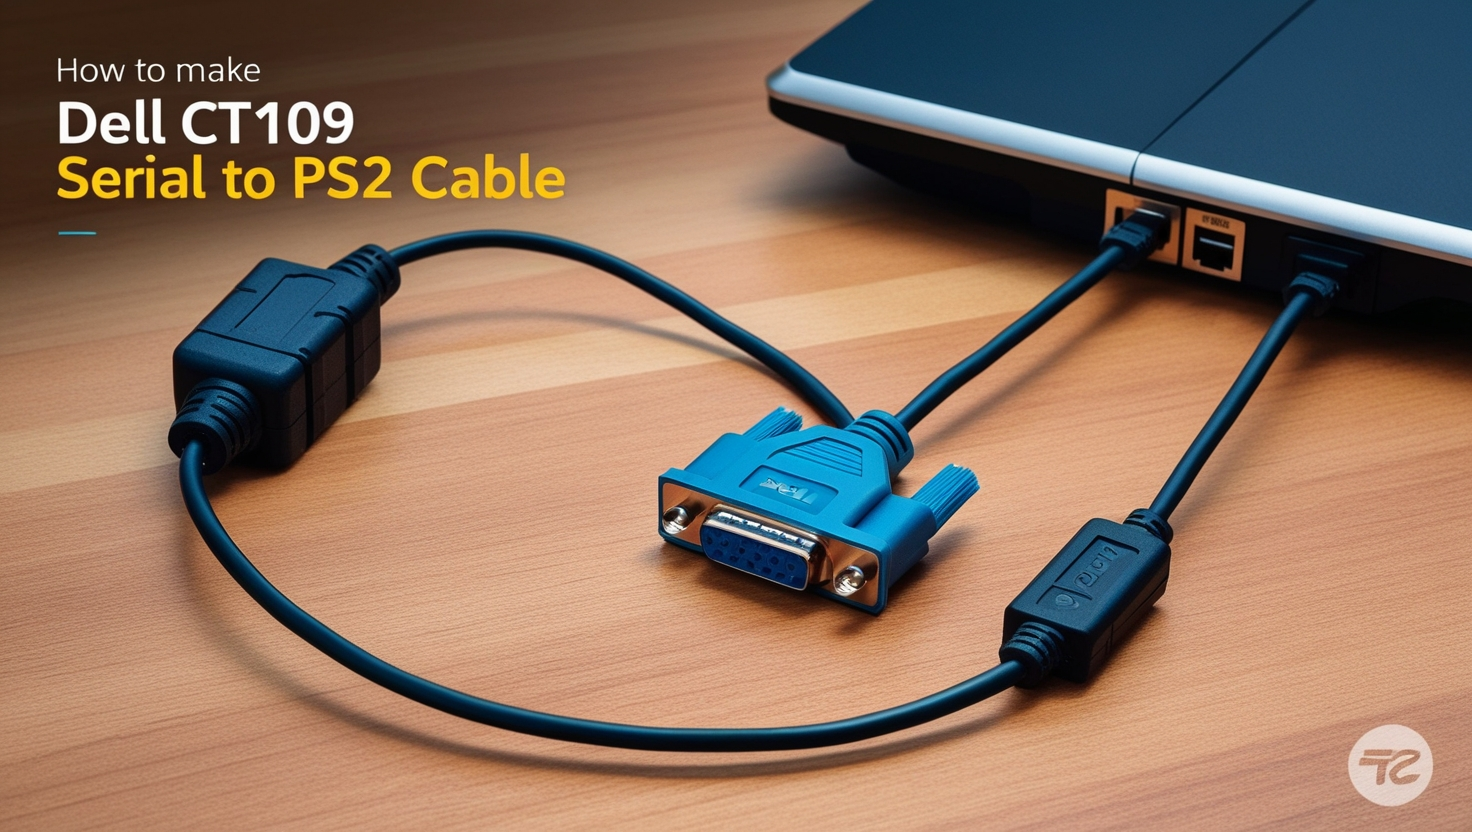
The applications are diverse once you’ve mastered How to Make Dell CT109 Serial to PS2 Cable They are generally used to connect older PS2-based keyboards and mice with systems using the most common serial ports most commonly used in industrial or special niches. They are also used in retro computing scenarios, where running with old hardware equipment is deplorable.
Troubleshooting Common Issues
As a step-by-step guide on constructing theHow to Make Dell CT109 Serial to PS2 Cable, there are some issues that you are likely to encounter. For instance, nothing will connect if one pin connection is compatible with another. While checking the pinout and solder joint, one should never leave any doubt, and so on. If the above cable does not work as expected, then its functioning should be fixed using a multimeter.
Maintenance and Care
How to maintain your custom How to Make Dell CT109 Serial to PS2 Cable: Do not fold it too much, avoid exposing it to humidity, and check if the connectors or insulation are worn out.
Conclusion
Learning how to make Dell CT109 serial to PS2 cable is a valuable skill for anyone working with legacy systems or devices. But understand wire overview, tools, and protocols and one can result in a fairly decent working wired. Since this one could tweak your settings or adjust to incompatible one, this particular skill prepares you for one of the biggest problems of technology. For any industrial application, not to say retrocomputing, a well made Dell CT109 serial to PS2 cable was undoubtedly one of the best pieces of equipment I possessed and helped bridge the gap between the new and the old.